
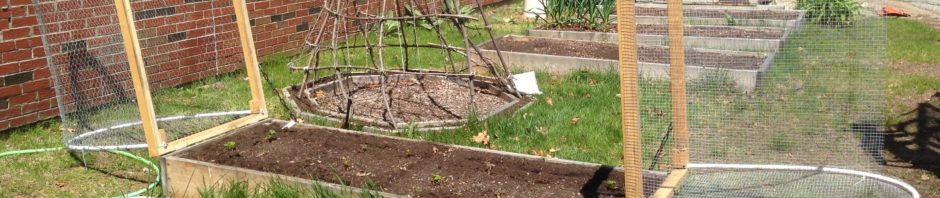
Dolorean hinged garden protection to keep out critters.
I help maintain a raised bed garden at a local preschool where the garden animals include not just kids, but also: Squirrels, chipmunks, raccoons, rabbits, groundhogs, moles/voles, turkey and deer.
For a few years this has meant that any peas, carrots or greens (lettuce, broccoli, etc.) planted would never grow to harvest. So when the kids said they want to grow strawberries, something had to be done to prevent a complete loss.
Thus came the Delorean hinged cover.
It ain’t Fort Knox, but it doesn’t need to be.
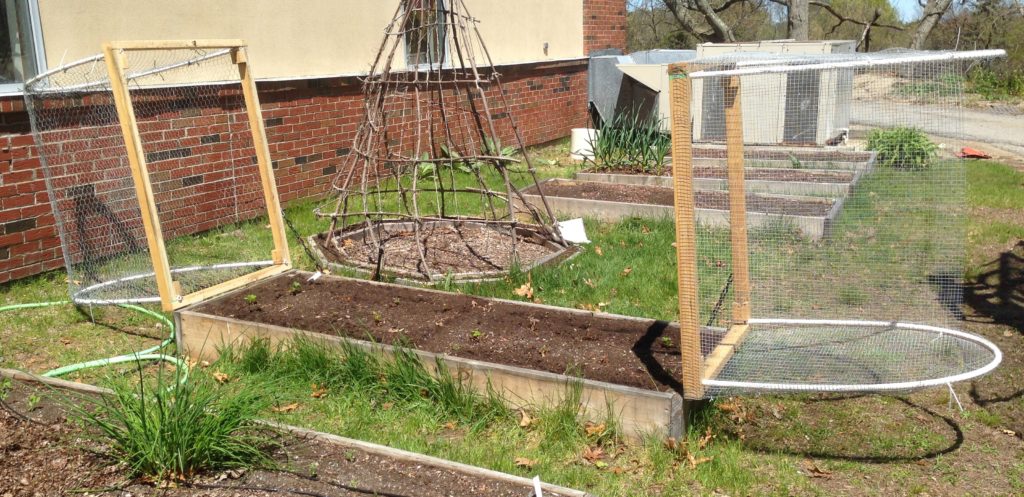
If I had enough space and didn’t need to worry about preschool kids getting whacked with an 8′ long cover, I’d use a single piece rather than making it Delorean style. In other situations you can also make it so it flips on the long side rather than the small side. In this instance, that wasn’t going to work.
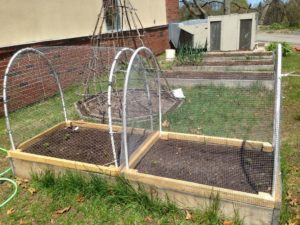
This design has worked great for protecting the strawberries, carrots and other items from critters. A few things I’d do differently, if given the chance:
- I’d lay hardware cloth under the bed so chipmunks and others couldn’t get in from the bottom,
- I’d make a square, rather than arced, cover by using inexpensive PVC elbow and three-way pieces. Bending hardware mesh was annoyingly difficult and the arc serves no purpose since we’re not covering these for the winter. (Though with fewer pieces than a squared design requires, it is slightly less expensive to build.)
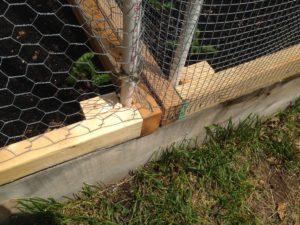
The very basic design that cost me around $40 can be seen in the photos, but it goes like this:
- Create two rectangles out of 2×3 lumber so that when laid on top, they rest perfectly on the raised bed. I used 3″ screws.
- Adding corner braces will help reduce/eliminate racking of the piece, though I didn’t find it necessary. Just use extra 2×3 cut with 45° angles on either end, perhaps 4-8″ long and install. Or if that seems like too much work, buy and install a corner brace.
-
Two hinges is plenty.
Attach two hinges at either end so the rectangle tilts.
- Attach conduit straps inside each corner. (Advanced DIYers can simply cut scrap wood to brace the PVC in place. If that doesn’t make sense to you, buy the straps.)
- Cut PVC to size. For a 3′ wide bed, I cut mine to 8′, which leaves ample head room for strawberries, carrots and broccoli, and is probably tall enough for eggplant, but definitely not tomatoes or peas. If I were doing it again, as noted above, I’d make corners instead of arches using corner and tri- pieces.
- Insert PVC into the straps and drive a screw through the PVC into the wood to hold it in place.
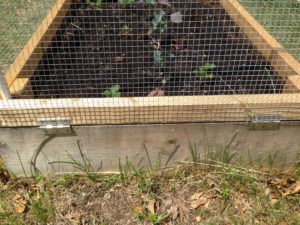
 Now comes the hardware cloth or chicken wire. This is when having a squared design, rather than an arched design, becomes much simpler. You spend a few bucks more on materials but in the end it will look nicer and be simpler to attach the hardware cloth. There’s no “best” method that I’m aware of, but here are a few tips:
- Attaching hardware cloth to the “ends” is also easier if you’ve got 90° angles rather than an arch. If you’ve got an arch, do what you can to make it look nice and use tin snips to cut to shape.
- Use zip ties or twist ties. The advantage of twist ties is that when you decide you need to do something differently, your work is easily undone and the tie is easily reused.
- Lay the hardware cloth the long way – from end to end, and attach.
- Use 1/2″ staples to secure the screen to the wood.
To make a version of this with corners rather than arches, you’ll need:
- Four three-way pieces,
- PVC cut to sizes that match your design. I’d probably go with 1′ or 2′ tall because I can buy 2′ tall rolls of hardware cloth and easily cut it to size.
NOTES:
- All the above links are demonstrative only. Most hardware stores will carry all of these items. Support your local hardware store!
- Chicken wire is much easier to wrap around arches than hardware cloth, but the larger holes allow chipmunks, mice, rats and other critters inside. If you’ve got small critters, you need smaller holes, which means hardware cloth.